Introduction
Designing a website with an integrated payment gateway is a crucial step for any business looking to sell products or services online. In today’s digital marketplace, customers expect a seamless, secure, and user-friendly shopping experience. A well-designed website not only showcases products effectively but also ensures that the purchasing process is intuitive and trustworthy. By incorporating a payment gateway, businesses can accept various forms of payment, including credit/debit cards, digital wallets, and local payment methods, thereby broadening their customer base and improving sales.
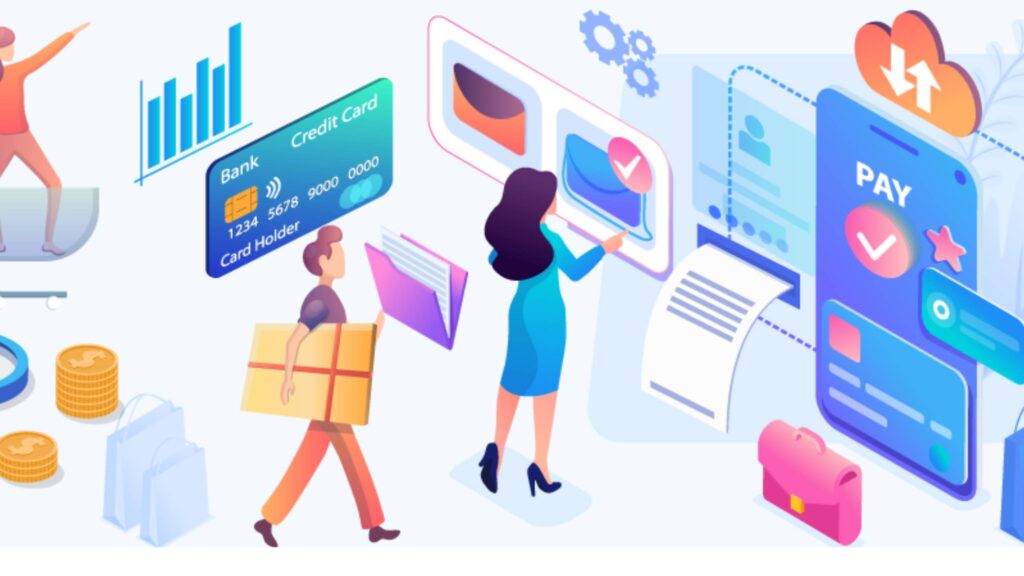
For companies like Ekhlas Designs, it’s essential to create a website that reflects their unique brand identity while providing a secure platform for transactions. The design should feature a clean, professional layout with clear product categories, high-quality images, and compelling product descriptions. Integrating a payment gateway involves more than just enabling transactions; it requires careful planning, including the selection of a reliable gateway provider, ensuring compliance with security standards, and optimizing the checkout process to minimize cart abandonment. Setting up your payment gateway is quick and easy. contact us for a tailored solution.
1. Planning and Design
Identify Goals: Establish clear objectives for the website. For an e-commerce site, the primary goal is to facilitate easy purchasing. Secondary goals might include building brand awareness, capturing leads, or providing detailed product information. This helps determine the design’s structure, features, and layout.
Branding and Visual Identity:
Logo and Color Scheme: Use the ‘Pristine’ brand’s logo and color palette across the site for consistency.
Typography: Select fonts that reflect the brand’s personality. For ‘Pristine,’ you might want to go for elegant and clean fonts that suggest quality and nature.
User Experience (UX) Design:
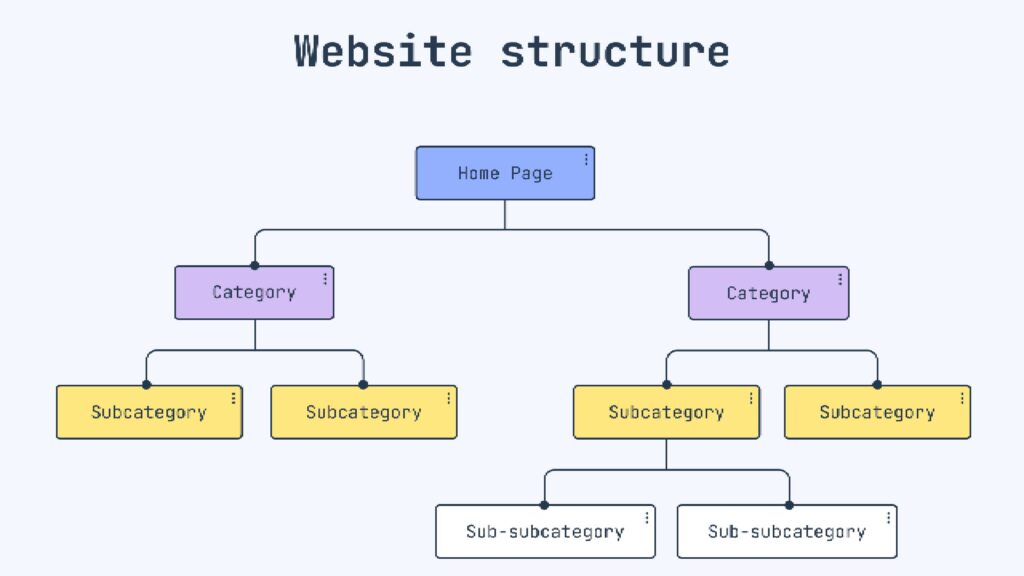
Navigation: Create intuitive navigation with categories like Home, Shop, About Us, Contact, and Cart.
Call-to-Action (CTA) Buttons: Use prominent CTAs like Buy Now, Add to Cart, and Checkout to guide the user through the purchasing process.
Wireframes and Mockups: Develop wireframes to outline where elements will be placed on each page. Use tools like Figma, Sketch, or Adobe XD for high-fidelity prototypes.
2. Website Structure and Key Pages
Homepage:
Hero Section: Showcase the best-selling products or a seasonal promotion using high-quality images. Include a CTA like Shop Now.
Product Highlights: Display featured products or categories (e.g., Organic Spices, Premium Nuts).
Trust Signals: Include customer testimonials, ratings, or certifications (e.g., organic or fair-trade).
Product Pages:
Product Descriptions: Offer detailed descriptions with information on origin, usage, and benefits.
Product Variants: If applicable, allow customers to select different sizes or packaging options.
Media Gallery: Include a gallery with high-resolution images and possibly videos of the product.
Reviews and Ratings: Integrate a section for customer reviews and ratings to build trust.
Cart and Checkout:
Cart: Allows users to view their selected items, change quantities, and see the total cost, including taxes and shipping.
Checkout: Step-by-Step Process: Use a multi-step.
checkout process: Shipping Information Payment Information Review Order.
Guest Checkout: Allow customers to check out as a guest without creating an account to reduce friction.
Form Optimization: Use inline form validation to help users input information correctly.
3. Choosing a Payment Gateway
Payment Gateway Options:
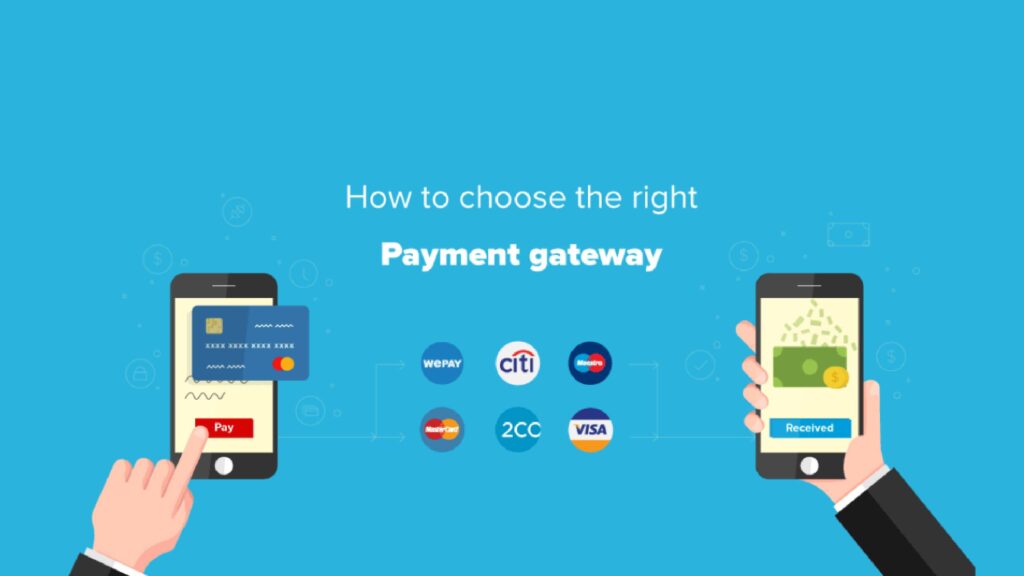
PayPal: Known for its ease of use and customer trust. It supports credit/debit cards, PayPal balance, and bank transfers.
Stripe: Offers a customizable checkout experience and supports various payment methods, including credit/debit cards, wallets, and local payment methods.
Razorpay (India-specific): Supports credit/debit cards, UPI, and other local payment options.
Factors to Consider:
Supported Payment Methods: Ensure the gateway supports popular payment methods like credit cards, debit cards, digital wallets (e.g., Apple Pay, Google Pay), and local payment methods.
International Payments: If you plan to sell internationally, choose a gateway that supports multiple currencies and cross-border transactions.
Recurring Payments: If you offer subscriptions or memberships, ensure the gateway supports recurring billing.
4. Integration of Payment Gateway
Plugins and Extensions:
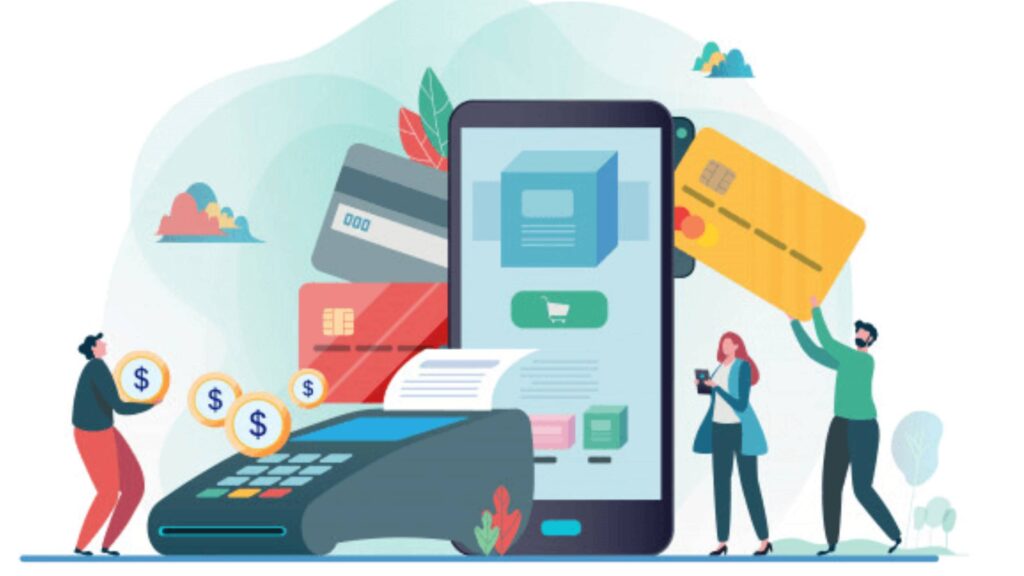
WordPress/WooCommerce: Install plugins like WooCommerce Payments, Stripe for WooCommerce, or PayPal for WooCommerce.
Shopify: Payment gateways like Shopify Payments, PayPal, and Stripe can be easily added from the Shopify admin.
API Integration:
Custom Websites: If you’re building a custom website, use the payment gateway’s API for integration. For example, Stripe offers detailed documentation and libraries for various languages (e.g., JavaScript, Python, PHP).
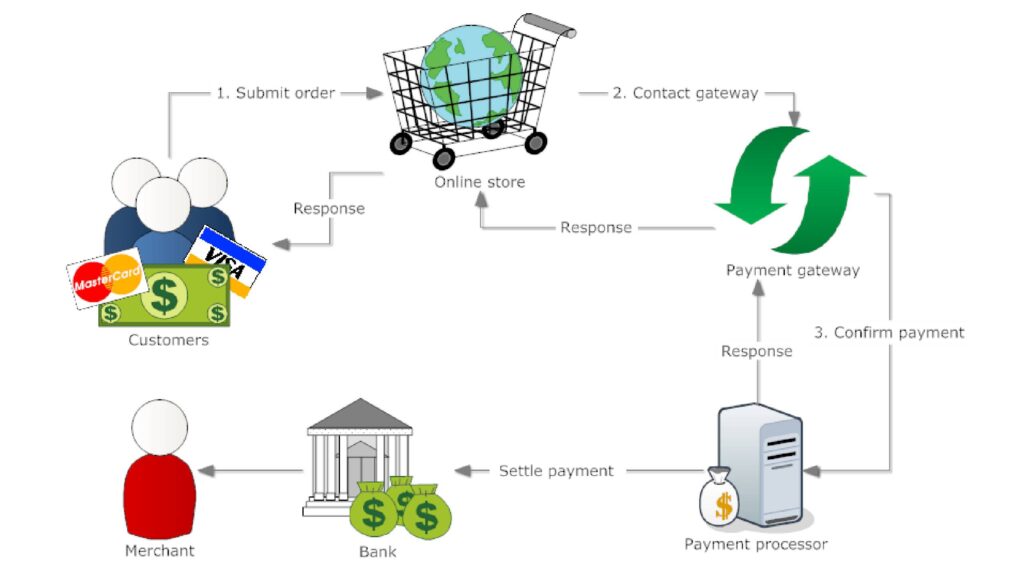
Server-Side Logic: Implement server-side logic to handle payment processing securely. For example, validate payment data and handle responses from the payment gateway.
Sandbox Testing: Use the gateway’s sandbox environment to simulate transactions and ensure the payment process works correctly before going live. Setting up your payment gateway is quick and easy. contact us for a tailored solution.
5. Security Measures

SSL Certificate: Use an SSL certificate (e.g., Let’s Encrypt, DigiCert) to encrypt data transmitted between the user’s browser and your server. This is crucial for protecting sensitive information like credit card numbers.
Data Encryption: Encrypt sensitive data stored on your servers, such as personal information and order details.
PCI Compliance: Ensure that your payment gateway is PCI-DSS compliant, which means it adheres to strict security standards for handling payment information.
6. User Experience and Trust Signals
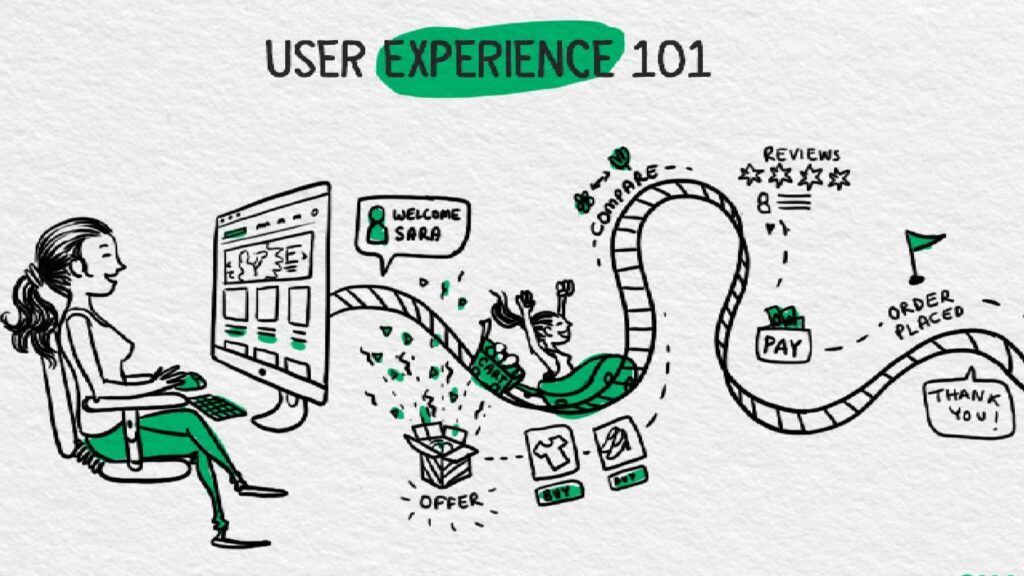
Progress Indicators: Use progress indicators on the checkout page to show users where they are in the process (e.., Step 2 of 3: Payment Information).
Trust Badges and Seals: Display security seals (e.g., Norton Secured, McAfee Secure) and payment badges (e.g., Visa, MasterCard, PayPal) to reassure customers.
Payment Options: Offer multiple payment options, including cards, digital wallets, and local payment methods, to cater to different customer preferences.
7. Backend Management
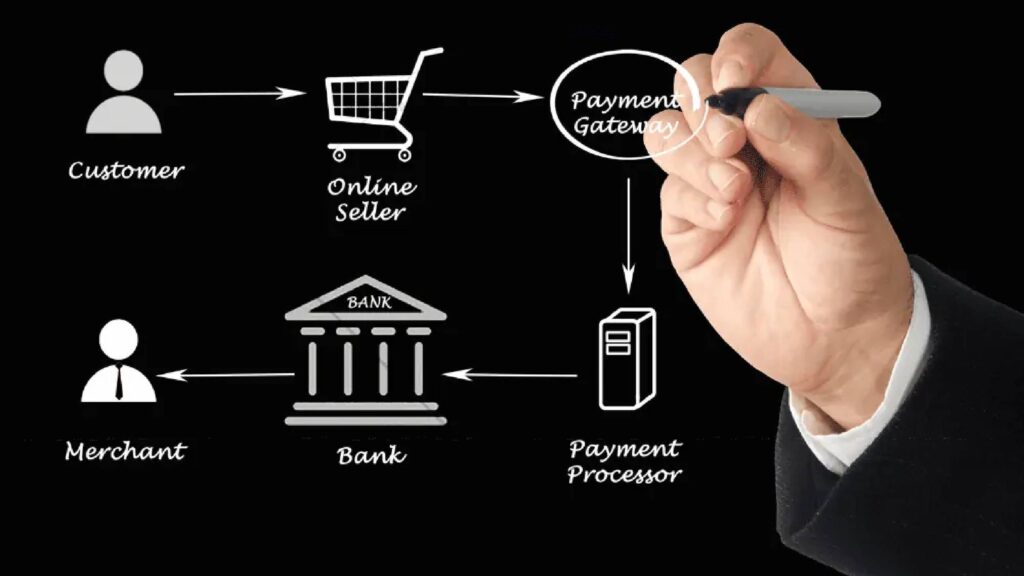
Order Management System: Integrate an order management system (OMS) to track orders, manage inventory, and handle shipping. For example, WooCommerce provides built-in order management features, while Shopify offers a comprehensive OMS.
Customer Account Management: Allow customers to create accounts to track their orders, view past purchases, and save payment methods for faster checkout.
Refunds and Cancellations: Implement a process for handling refunds and order cancellations through the payment gateway. Most gateways, like Stripe and PayPal, offer APIs to automate this process.
8. Compliance and Policies
Legal Pages:
Terms of Service: Outline the terms of using your website and purchasing products.
Refund Policy: Clearly state the conditions under which refunds are issued.
DPR Compliance(if applicable): If you have customers in the EU, ensuring compliance with Setting up your payment gateway is quick and easy. contact us for a tailored solution.
9. Testing and Launch
Testing:
Functional Testing: Test all functionalities, including adding items to the cart, applying discount codes, and completing payments.
Usability Testing: Have real users test the website to identify usability issues.
Payment Testing: Test the payment gateway with both valid and invalid payment methods in the sandbox environment.
Go Live: Once all testing is complete, move the website to a live server. Ensure DNS settings are updated correctly for domain pointing.
Monitoring: Monitor the website’s performance and payment gateway activities.
10. Post-Launch Management

Regular Updates: Keep the website platform, plugins, and payment gateway integrations updated to maintain security and performance.
Customer Support: Provide customer support via live chat, email, or phone to assist with payment-related queries.
Feedback and Optimization: Collect customer feedback to identify areas for improvement. Optimize the checkout process based on feedback to reduce cart abandonment.
By following these detailed steps, you can create a secure, user-friendly website with an integrated payment gateway that offers a smooth shopping experience for your customers.

